If you’re looking for freedom camping in Taranaki, north of Wanganui on the West Coast of New Zealand, then you can’t overlook Waverley Beach. About an hour from Wanganui is the small town of Waverley and on the coast is Waverley beach. If you’re looking for the ideal location for freedom camping then this is it!
After grabbing a coffee at the Main Street Cafe or the Four Square if the cafe is closed, turn left and head out to Waverley beach.
There are a number of options for staying at Waverley Beach. There is a paid campground and there are some beautiful locations with ocean views for freedom camping in Taranaki.
Waverley Beach Campground
Waverley campground is a popular location for those who wish to stay in a paid location. The facility has 28 unmarked powered sites. There’s a hot shower, toilet, basic kitchen facilities, a playground and free use of a BBQ for campers.
As of 2024 the fees for Waverley Campground are:
Powered Site – $21.00 per powered point/powered site/per night
Non-Powered Site – $17.00 per site/per night
Freedom Camping in Taranaki at Waverley Beach
If you don’t need to use the paid campground and intend freedom camping, then you can choose from some amazing cliff top locations with beautiful ocean views.
Cell phone coverage on Spark is adequate. Enough signal to make phone calls, text message, and use the internet. Internet is adequate for streaming video content.
Signs indicate that three vehicles per night are allowed and you can stay for three nights in a calendar month. There are signs indicating where dogs are allowed, with dogs permitted on Long Beach but not on Cave Beach.
A short walk from the freedom camp parking there is a toilet block. It’s serviced daily, flushing toilets and cold showers are available.
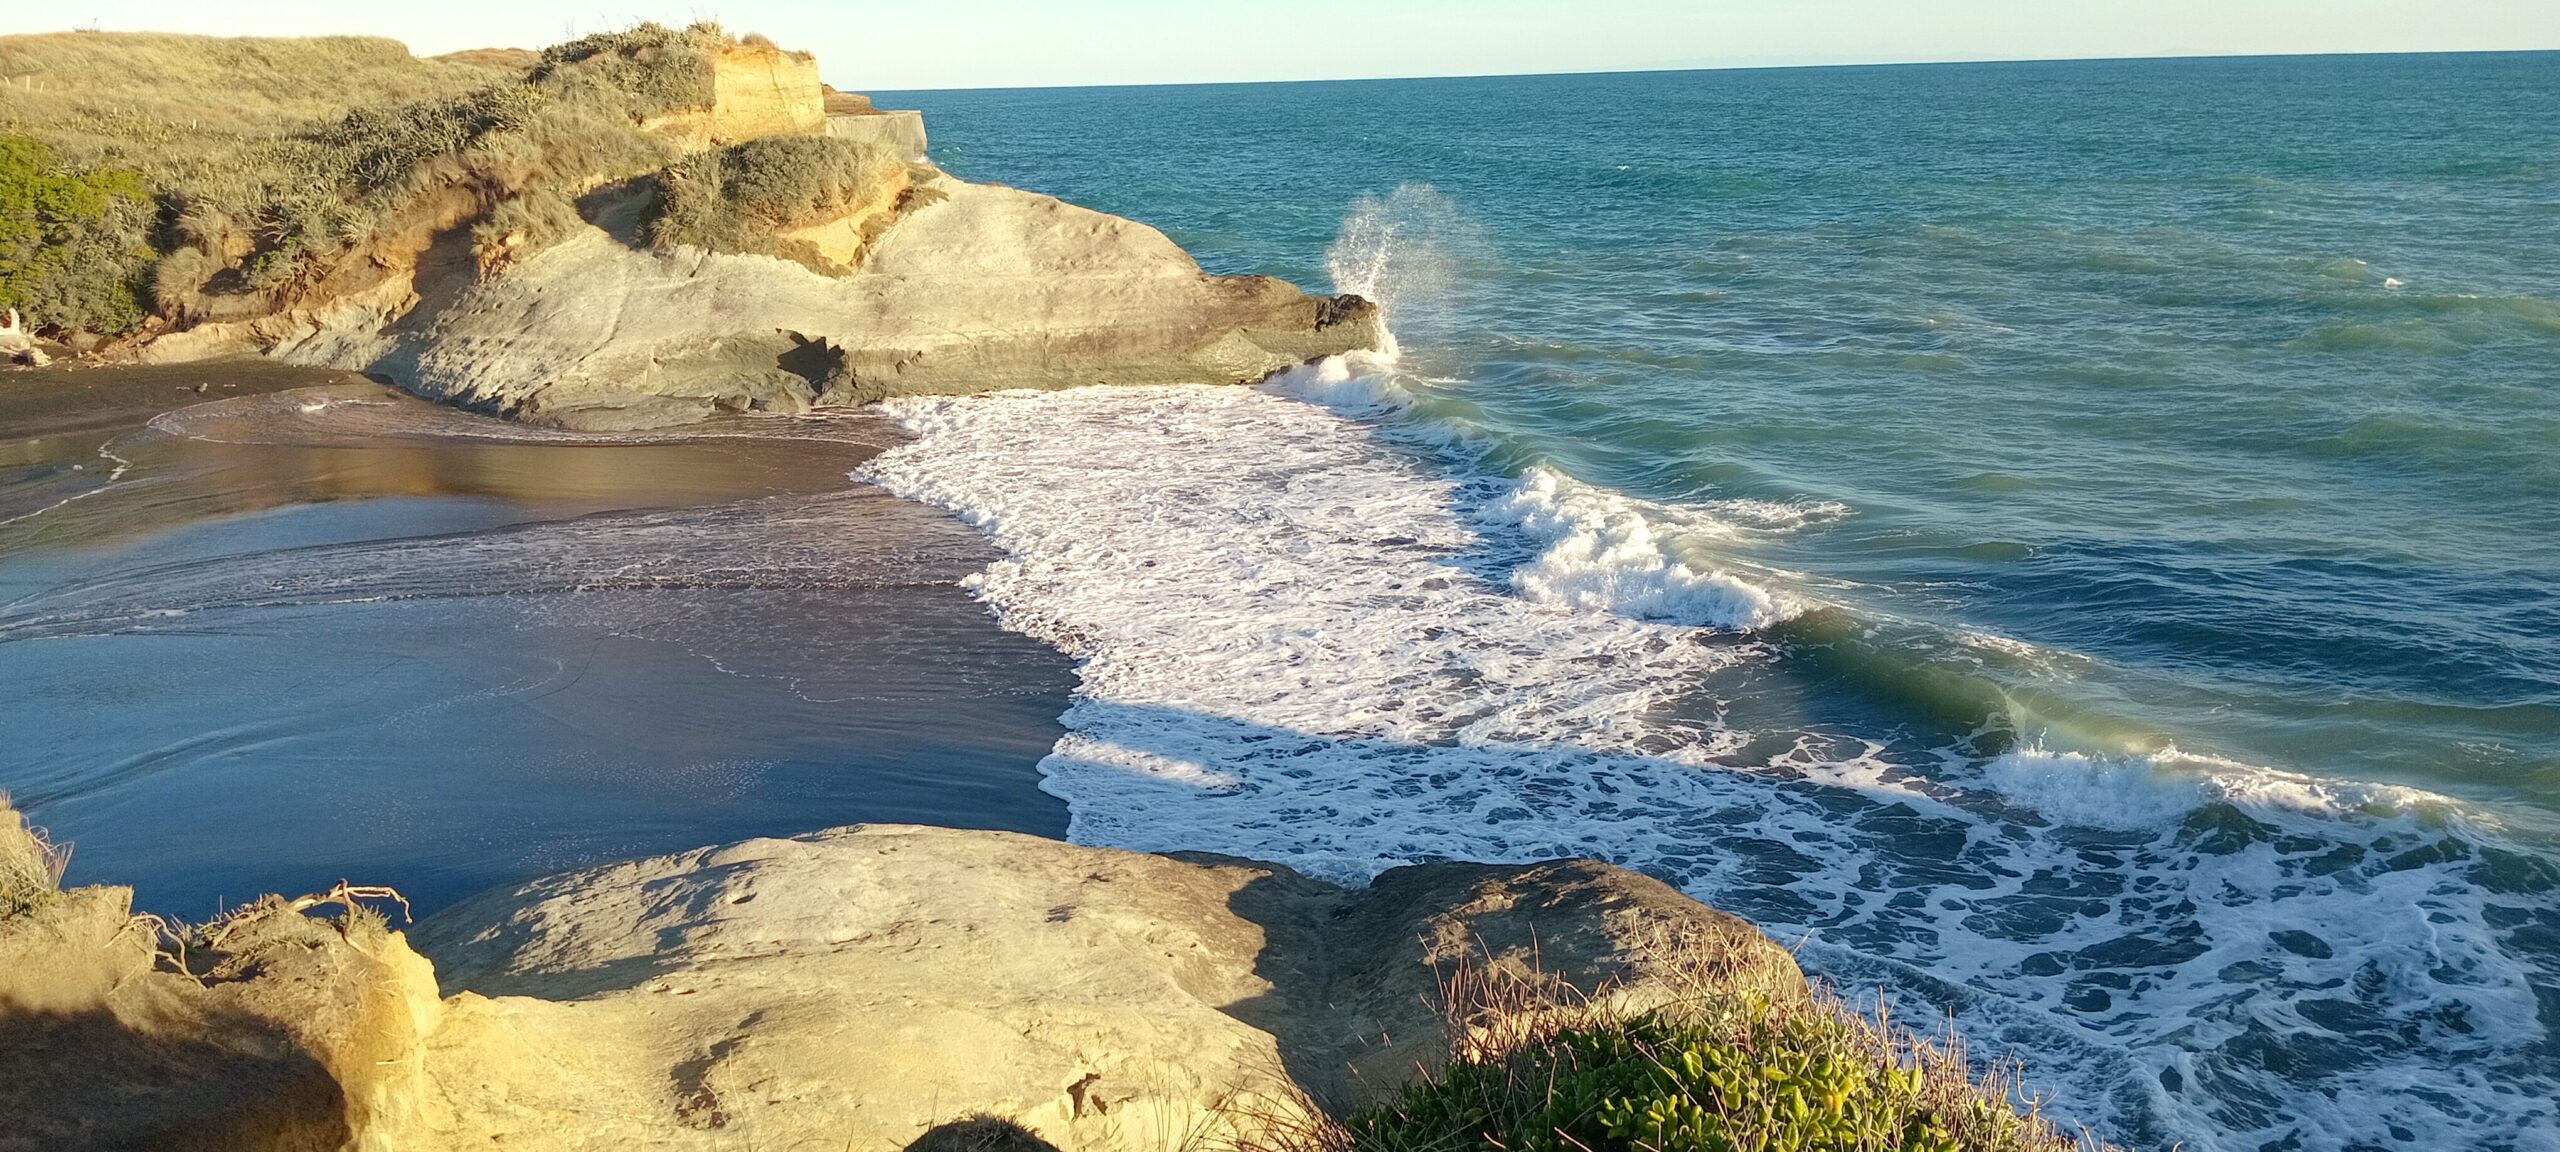
Waverley Beach is a beautiful black sand beach. A short walk – 50 to 200 metres from your freedom camping site at the end of the gravel road is beach access. There are amazing cliff and rock formations as well as deep caves where the crashing waves are slowly eroding the cliffs. It can be windy freedom camping at the cliff top location, but it’s certainly worth staying here on a beautiful sunny day. You’ll be treated to amazing West Coast sunsets.
There is a dump station in Waverley – Chester Street as you drive into Waverley from Wanganui.
For more information about freedom camping at Waverley Beach or freedom camping in the Taranaki region check out the South Taranaki District Council website.
Read our blog about Tongaporotu – the 3 Sisters and elephant rock, if you’re looking for more locations for freedom camping in Taranaki.
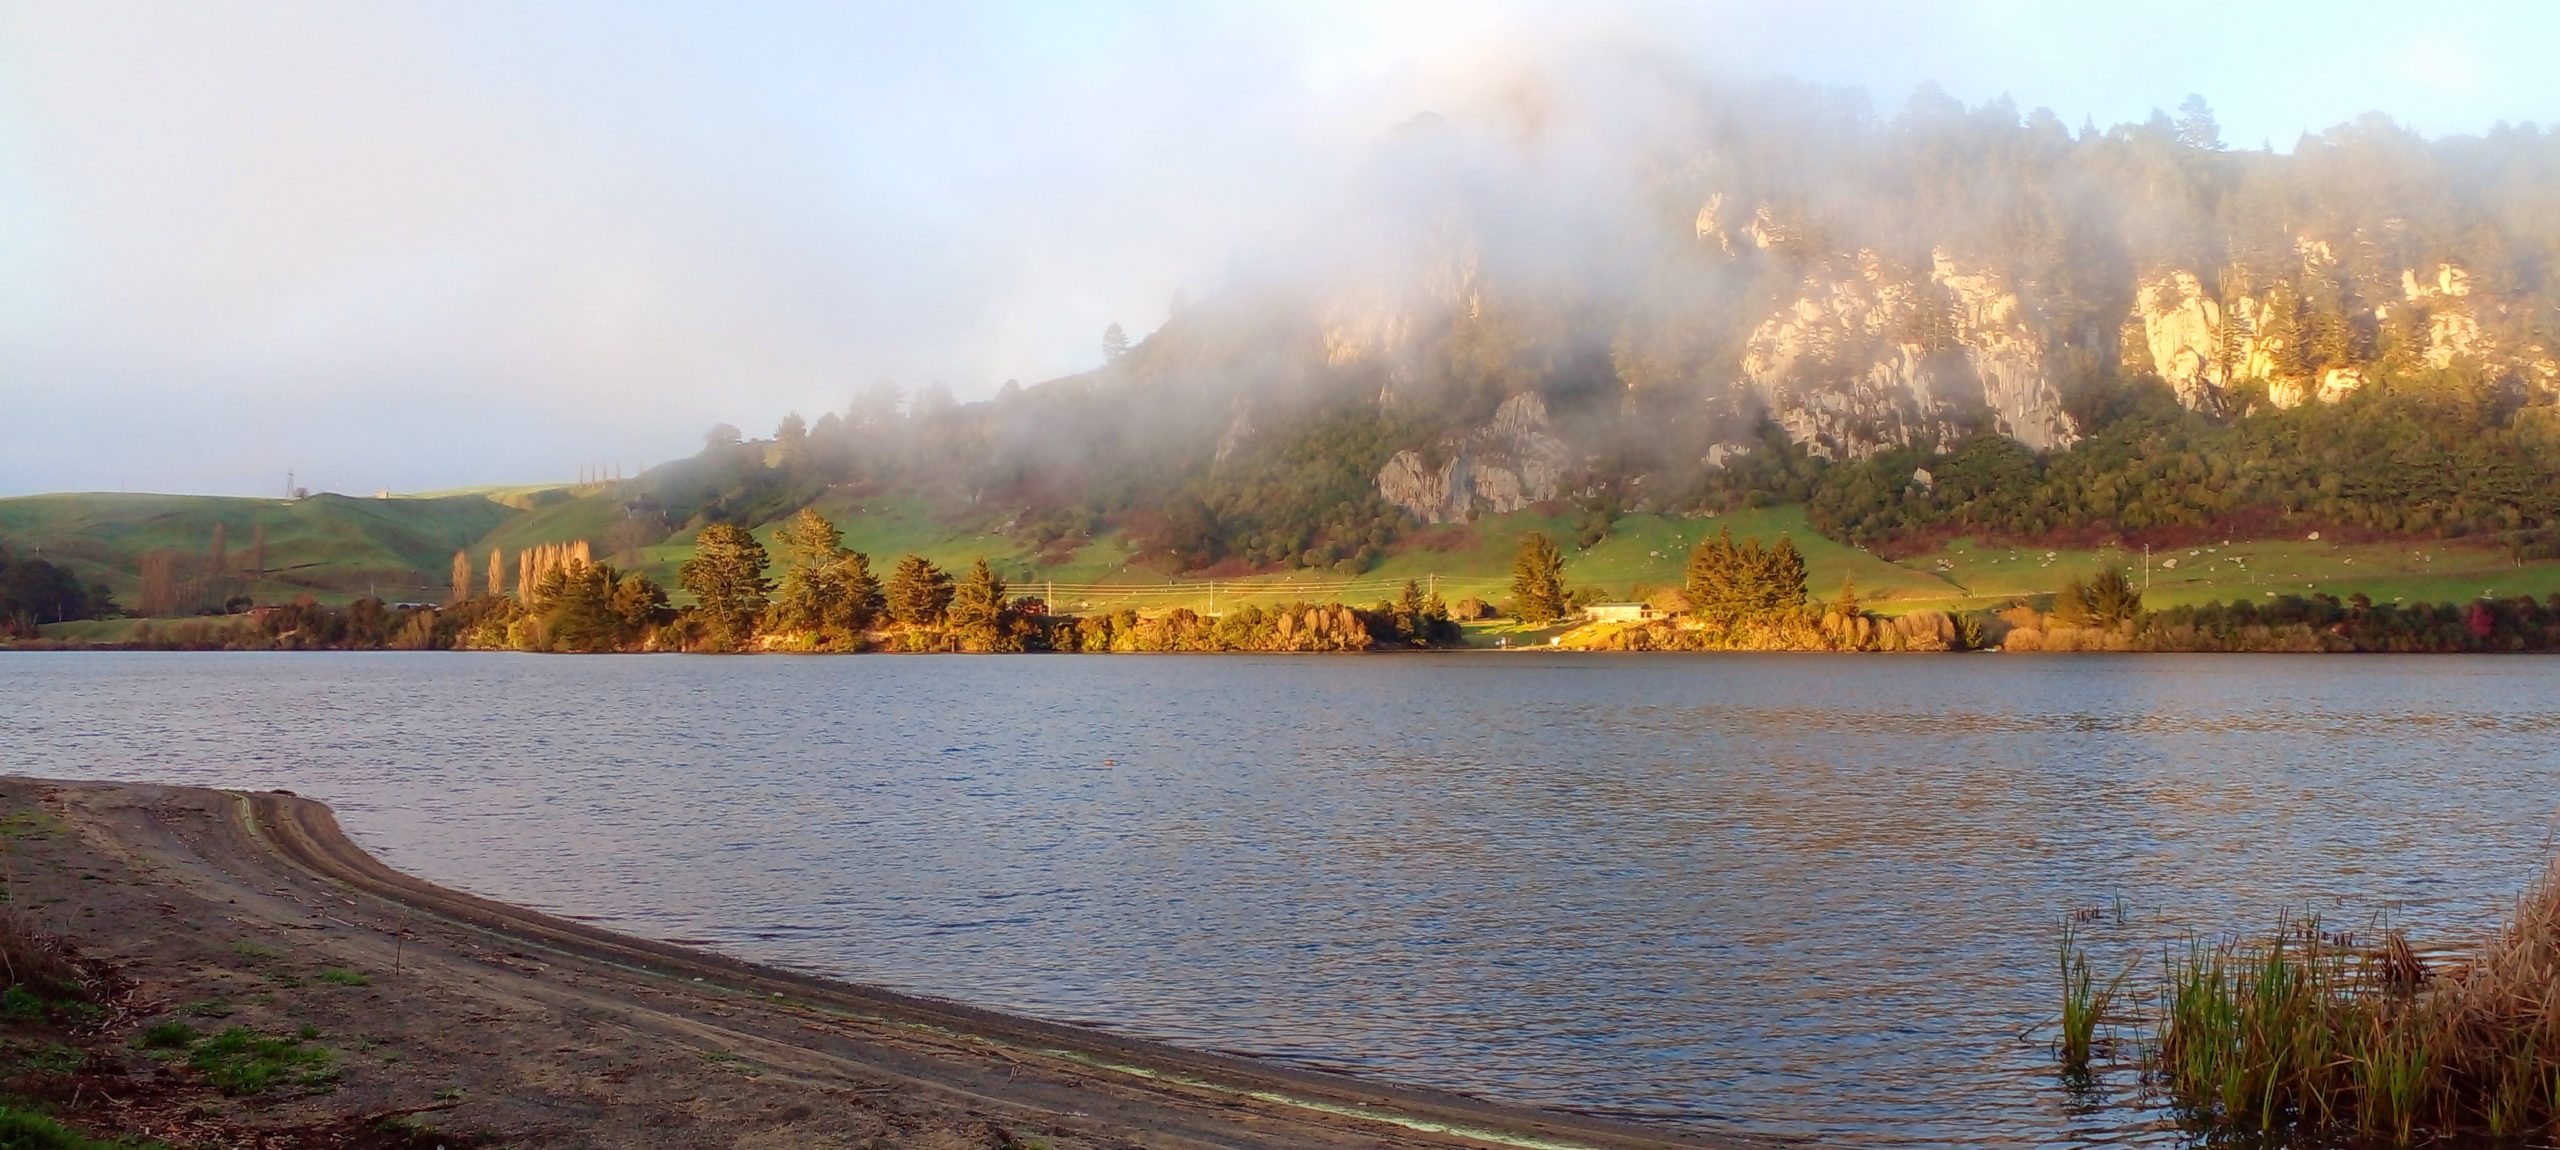
Twenty minutes drive from Tokoroa you’ll find some of the best freedom camping at Lake Whakamaru Reserve.
Freedom camping at Lake Whakamaru Reserve is governed by the South Waikato District Council – they’ve provided a number of wonderful freedom camping areas in the district including this one. Whakamaru, not far from Mangakino sits alongside the Waikato river. Lake Whakamaru Reserve is accessed off state highway 30.
Freedom camping at Lake Whakamaru Reserve is ideal if you want somewhere lakeside, peaceful, and beautiful, but with a few of life’s luxuries on site – cell phone coverage, internet coverage, and hot showers!
Freedom Camping at Lake Whakamaru Reserve
Lake Whakamaru Reserve is one of a number of camp sites in the area that now have free hot showers on site. Water tanks supply the showers which are heated by gas. That being said, the camp rules allow for a 2 minute shower only. However, when you’re the only campers there, you could probably stretch that limit a little?!
Each end of the campsite has a shower and toilet block, they’re longdrop toilets, but the facilities are clean, fresh, and well maintained – with toilet paper and handwash gel. Unfortunately one shower block was closed when I visited due to vandalism. However, the showers at the end I stayed at were great!
There are barbecue facilities on site and a number of picnic tables scattered throughout the grounds.
The area is huge, there’s plenty of room for campers. There were about 5 other campers staying while I was there. Enough to have a bit of security, but also not be crammed in and living next door to each other! This was in August and I’d imagine the area gets a lot busier over the summer season.
Cell phone reception was good, as well as adequate internet coverage on Spark / Skinny – good enough to get some work done.
Dogs are allowed – must be on a lead at all times.
You can stay for 2 consecutive nights at a time. Longer stays require a camping permit which is available from the South Waikato District Council.
For a look around, watch our short video here on You Tube.
Lake Whakamaru Reserve is a stop on the Waikato River Trails, once surrounded by many tall trees, the area is now cleared of trees. The northern end has a boat ramp. Apparently the swimming is good too in the summer time. The reserve is quiet, and felt like a safe location to stay.
Freedom Camping at Lake Whakamaru is highly recommended by us. Another great spot to stay is Lake Aniwhenua. Check out our article about freedom camping at Lake Aniwhenua here.
Arapuni Landing, approximately 20 minutes drive from Putaruru, or 40 minutes from Cambridge is one of the districts beautiful freedom camping spots. Nestled on the shores of the Waikato River, the hydro lake is a popular spot for anglers and water lovers. Both brown trout and rainbow trout can be caught, with Fish and Game releasing several thousand fish into the lake annually.
As far as freedom camping spots go, Arapuni Landing makes for a safe, enjoyable stay. Of note is the fact it’s not isolated. There are a number of houses scattered within a few hundred metres of the freedom camping spots.
Arapuni Landing is free to stay at. In the summer months the area gets busy so if you plan to freedom camp then it pays to be early. If you’re staying during the off- season, the winter months it’ll be quiet with very few other campers. Get the diesel heater going and enjoy the stay. Don’t have a diesel heater? Check out my thoughts on why a Chinese Diesel Heater is a must have item.
There’s a boat ramp with access to the lake and it’s popular with watercraft.
There’s a maximum of 15 vehicles allowed freedom camping at any one time. The camp is only for certified self contained vehicles, and you’re allowed 2 consecutive nights stay maximum. But don’t let that put you off. Once you’ve stayed two nights, Bulmer’s Landing is a short drive up the road – another of the areas awesome freedom camping spots.
There’s a flushing toilet available. See the above photo. It’s the small buildings at the left of the photo, on the road into the camp at the left.
Arapuni Landing is also dog friendly.
Arapuni Landing has good coverage for WIFI and Cell Phone reception on Spark and Skinny. You’ll be able to get some work done on the lakefront or stream your favourite YouTube channel.
Arapuni Landing is part of the Waipa District Council. Check out their website for more information on freedom camping spots in the area.
Freedom Camping Spots: Jones’ Landing
Jones’ Landing is opposite Bulmer’s Landing – on the other side of the river. I’ve not been there and checked it out yet. However, from what I could see on the other side of the river, from Bulmer’s Landing it looks like a nice place to check out. It’s on my list of “to dos'” According to Camper Mate, it’s closed to vehicles between 8.30pm and 6am and there’s no cell phone coverage there. Jones’ Landing is named after Gordon Jones’ father who had a boat shed there.
Certified Self Contained vehicles are able to stay two nights for free and then a camping permit is needed for a longer stay. These can be purchased from the South Waikato District Council offices or the district’s Information Centres.
Arapuni Hydro Dam
Freedom Camping Spots: Bulmer’s Landing
Bulmer’s Landing is a nice freedom camping spot, opposite Jones’ Landing. Bulmer’s Landing is a short drive from Arapuni Landing. There’s a maximum of 10 Certified Self Contained vehicles allowed per night, for another 2 consecutive nights.
Although I didn’t check out the toilet block, it’s a much more substantial sized building than the toilets at Arapuni Landing.
For the water sport lovers – there’s a boat ramp at Bulmer’s Landing. Again, in the summer it pays to get in early if you want lake front views from your motorhome.
Arapuni Hydro Dam
Arapuni Hydro Dam
The small village of Arapuni is about a ten minute drive from Arapuni Landing. Arapuni power station and dam were built between 1924 and 1929. The dam is 64 metres high from its foundations to the roadway and raised the water 42.7 m above its old level.
If you’re in the Arapuni area, be sure to check out the Arapuni Suspension Bridge. It’s a popular tourist attraction. Again, another one of those items on my ‘to do’ list for next time I’m though. I was in a bit of a rush this trip on my way to Lake Aniwhenua. Lake Aniwhenua being one of my favourite places to stay, probably due to the free hot showers when van camping…. check out our thoughts on Lake Aniwhenua here.
Nestled about an hours drive to the south east of Rotorua, in the Bay of Plenty is Lake Aniwhenua. Although classed as ‘free’ there is a donation box, but well worth a donation to stay at arguably one of the best freedom camping spots in the area.
The Best Freedom Camping Spot Because….
I’ve stayed a couple of times, and the free hot showers are a contributing factor to making this one of the best freedom camping locations. That, combined with the beautiful location, scenery, and such a nice large grassed area with plenty of parking.
As well as the hot showers there’s also flushing toilets. The showers are heated by the sun – solar powered, so as long as there’s been sun they seem to be adequate for a good wash. If you’re doing the van life thing, without a shower on board, the hot showers are welcome.
Cover from the elements and the toilet and shower block
Cell phone coverage is adequate on Spark and Skinny. A couple of bars in most parts of the campground – enough to get some work done on WIFI or watch YouTube once you’re done kayaking or sailing on the lake.
Part of the Rangitaiki River, Lake Aniwhenua is relatively shallow, but provides some great fishing opportunities. On a good day you should be able to catch both brown and rainbow trout.
There’s plenty of parking for vehicles of all sizes, no matter if you’re a small van, bus, motorhome or tent. You can park right alongside the lakefront, or if the ground is soggy there’s parking up the top if you don’t want to risk getting stuck. Camping is allowed in both Certified Self Contained (CSC) vehicles and non-CSC vehicles including tents.
You’re allowed to stay for a maximum of 7 nights in any 4 week period. You can read more about freedom camping in the Whakatane district here. Get along and enjoy one of the best freedom camping locations in the Bay of Plenty!
Lake Aniwhenua is awesome in the summer time, but beautiful in the change of seasons as the trees colour up. It’s idyllic in the winter, but you might want to have some good heating. Check out our article about installing a Chinese Diesel heater – whether they’re really worth it or not…
If you’re off to your next destination you might like to consider Arapuni Landing, Jones’ Landing, or Bulmer’s Landing. Another couple of great freedom camping locations, about a 2 hour drive to the west, and located about a half hour south of Cambridge.
Diesel Heaters, aka Space Heaters or Parking Heaters
Installing a Chinese diesel heater in your motorhome, van, or RV is a great way to keep warm in the winter. They’re efficient, provide a warm, dry heat, and are relatively easy to install yourself. I’ve got two diesel heaters installed. In this article I’ve put together my thoughts on the Chinese diesel heater.
Based off the Eberspächer and similar heaters originally, the Chinese ‘copy’ of this parking heater has become extremely popular. They cost a fraction of the price. People who own them can often be heard stating that they could buy a Chinese diesel heater and six spares for the cost of one Eberspächer heater. I’m not sure anyone has ever needed to though as the Chinese copy seems to be reliable if installed and operated correctly.
Cost of Chinese Diesel Heaters
The cost of these heaters has dropped dramatically over the last few years, and spare parts for them have increased in availability. My first Chinese diesel heater cost $650 second hand 5 years ago, and I’ve recently bought another one for $250 from Trade Me. They can be purchased direct from overseas for a similar, if not cheaper price.
My Diesel Heaters I’ve Installed
I’ve found the Chinese diesel heaters to be generally reliable and good. I have one in my van, one in my motorhome, and I’ve just purchased a second one so as to have two in the motorhome. I’ve done this as a back up, they’re cheap enough and while reliability seems good, you just don’t want it to break down on a cold night and have no heating. So I figured since they’re so cheap I’d throw a second one in.
The heaters I have are 5KW. The van, being small heats up in ten minutes. The motorhome at 9 metres is the perfect size for the 5KW heater, and often I only run it on it’s lowest setting. It’ll warm the entire motorhome up easily. Although I’ve never timed it, my estimate is that from 8 degrees inside the motorhome, it will be up to 20 degrees in 15 minutes. On a cold day outside it’ll keep you plenty warm enough.
Chinese Diesel Heater
How Many Amps Do Chinese Diesel Heaters Draw?
Chinese diesel heaters need power as well as diesel to run. They use the most power on start up while the glow plug does its thing. It’ll draw about 8 to 10 amps while it starts up – around 5 minutes or so. Once running, depending on your heating needs it’ll use roughly one amp an hour. Your existing power supply should be adequate to run the diesel heater. Running my diesel heater has very little impact on my power supply. It’s running off a couple of AGM batteries and 300W of solar. See more about my electrical set up here.
How Much Diesel Does a Chinese Diesel Heater Use?
Diesel use is minimal. The actual amount you use will depend on the heat setting. On a low setting you’re probably looking at around 0.2 of a litre per hour, and if you turn it up to a high setting you’ll be using closer to half a litre of diesel per hour. Realistically, diesel usage is not an issue – I find that I run my heater on it’s lowest or second lowest setting. So allowing 0.2 liters of diesel per hour I’m getting 5 hours of heating for a litre of diesel. Although diesel prices have gone up somewhat, it’s still pretty reasonable considering I wouldn’t have the heater going all day. Even on the lowest setting in the day time, it’ll get too warm inside with it constantly on.
Install a Carbon Monoxide Alarm
Diesel heaters exhaust fumes contain carbon monoxide which can kill quickly and silently. Although the exhaust exits outside the vehicle, I’d never install or use a diesel heater in a location without a good carbon monoxide alarm. I’ve got two in my motorhome. It’s just not worth the risk.
Can You Install a Chinese Diesel Heater Yourself?
The short answer is yes. The longer answer is that it depends how handy you are at wielding a few tools. You’ll need to cut a hole in the floor of your vehicle, and wire up the electrics to the battery.
Depending on your vehicles floor you may need to cut or drill through wood or metal. My motorhome has a wooden floor and the van has a typical metal van floor.
You’ll need to carefully plan and consider where you’ll install the heater. It needs to sit upright. On the bottom of the heater is an air intake which the heater uses to bring in air from outside for the combustion process. Next to this is the exhaust outlet, and this again must be vented to the outside of your vehicle. The exhaust gets very hot! As does the outer casing of the heater. This really means you need to use common sense when installing. You’re dealing with something that if installed incorrectly, is dangerous. With that said, I’d say give it a go yourself. Plenty of people have installed them, there’s even Facebook groups dedicated to Chinese diesel heaters.
Diesel Heater Components
What’s in the box? All this apart from the kitten
The diesel heater arrives neatly packed in a box with all the components you need. At first you’ll probably wonder if you’ll ever work out how to put it all together. For my first install, I had a pretty good idea of how it went together, but I decided to ask someone to confirm a couple of questions I had.
It’s a little bit like a jigsaw. Most components will only go in one place. For example in the picture below I’ve attached the air intake pipe (black) and put the round filter on the end. And the silver pipe is the exhaust with the muffler still in the bag. The silver pipe and black pipe are slightly different sizes. Therefore you can’t put them on the wrong part of the heater – they won’t fit – like a jigsaw. All this minus the clamps that are provided to tighten and hold it all firmly together.
Heater showing air intake pip and exhaust pipe connected
The photo below shows the fuel pump and filter with the fuel line provided. If you haven’t yet bought your diesel heater, I’d recommend getting one that has this coloured fuel line. It’s what I’ve always got, and I’ve read in a number of places that it’s better than using the green fuel line that some of the Chinese diesel heaters come with.
Fuel line, fuel filter, and fuel pump
The photo below shows the fuel filter and the fuel pump. Fuel flows from the tank, to the fuel filter, and then to the fuel pump. The fuel filter ideally should be facing the other way as any sediment in the fuel can then catch on the outside of the little mesh basket inside the filter as opposed to filling up the small mesh basket. There’s no arrow on the fuel filter, whereas the fuel pump has an arrow on it that shows the direction of fuel flow / install.
Fuel filter (installed around the wrong way!) and fuel pump
You can install your heater using the 10 litre plastic fuel tank supplied, or you can T off into the vehicles fuel supply if your vehicle is diesel powered. The photo below shows the supplied pipe to connect to a vehicles fuel tank. The connections along the fuel line are made using the supplied rubber hose which you cut to small sections, push the white pipe into, and clamp with the supplied fittings.
Fuel line for vehicles fuel tankShort black rubber hose
Install an Additional Power On/Off Switch
I recommend adding another power switch. When you connect the heater to your battery, with most of these heaters the LCD screen will stay on. I’d rather have control of what items are on in my van, RV, or motorhome, especially when it comes to a device that can give off carbon monoxide fumes and creates heat. Although generally very reliable and good heaters, I’ve walked into my motorhome and found the heater ON, albeit only the fan blowing cold air, but some fault has caused it to switch itself on. I’ve read of similar things on Chinese diesel heater Facebook groups.
Some people will suggest that you don’t add another power switch. Their reasoning is that someone may accidentally turn the heater off using this switch. Indeed, it’s important that the heater is not switched off by an external switch. The heater must be switched off using the off button on the controller provided. The heater then goes through it’s own cool down cycle. This must be allowed to happen. Once it’s done this, you can use your additional switch to completely cut power to the heater.
All things considered, I’d rather have control over when the heater has power supply to it. If you’re worried about someone ‘accidentally’ turning the heater off by your additional power switch, mount the switch in an out-of-the-way place.
Other Tips I’ve Learned Along My Diesel Heater Journey
Install the fuel tank outside rather than inside the vehicle. It makes it easier to fill up and it’s not going to make the vehicle smell of diesel if you inadvertently spill diesel while filling.
Make sure the fuel pump is installed on the correct angle. Check your instruction booklet that comes with it. Although perhaps a bit hard to follow, the pump needs to be installed on about a 45 degree angle.
There’s a correct way to install the muffler on the exhaust too. Have a close look and you’ll see a small hole on one edge. This is to let any moisture drain out of it. It needs to be installed so that moisture can drip out this hole.
You can draw in air from outside the vehicle, or recirculate the air inside the vehicle. I’d recommend recirculating the inside air. That way you’re not ‘heating up’ cold outside air. It also prevents drawing in outside air which may smell of diesel exhaust.
Point the exhaust away from your vehicle. You don’t want the exhaust smell hanging around or exhaust fumes with carbon monoxide building up under your vehicle.
Note the angle of the fuel pump
Please note that none of the above is intended as a “how to guide”.
I’d recommend the Chinese diesel heater. For $250 NZD you can’t go wrong. Have a go at installing it yourself. Use common sense, talk to people who have installed them, there’s plenty of information on YouTube and Google, and join the Facebook groups.
So go ahead, get yourself one of these heaters and get out there over the winter months! Here’s a recommendation of one of my favorite places to stay – The Three Sisters, Tongaporutu!